
Fear of Flash (Or, how a 50-year old Vivitar 283 helped me conquer it)
I’ve always had a fear of electronic flash photography and I admit, it was a fear of the unknown. My experience with flash photography was limited to flashcubes on Kodak Instamatic cameras, flashbars on Polaroid instant cameras and the SB-24 Nikon Speedlight I bought for my Nikon N90s back in the 1990s. I never got good pictures from any of those set-ups, mostly because I really didn’t know what I was doing. Many years ago, a friend hired me to shoot his wedding. To this day, I still cannot figure why he did or moreso, why I agreed to do it considering I didn’t have a clue. It was an outdoor daytime wedding and the available light stuff was pretty acceptable. The few flash shots with my N90s and Speedlight were horrible. The marriage didn’t last but my friend, who is still my friend, said it had nothing to do with my photographs. Thank goodness for that.
The rest of my portfolio of flash photographs consisted of over-exposed and washed out shots of my kid’s birthday parties or similar results from other family gatherings. I don’t think I had ever taken a flash photograph that I have been happy with. My history, coupled with what I perceived as the complicated process of achieving good results with flash, has contributed to my fear.
A recent acquisition of a Fujifilm X-T1 digital camera prompted me to starting wondering again about trying some flash photography. With the X-T1, I could experiment, learn and see my results immediately rather than incur the expense of film and processing while I fumbled my way around. I was also very curious about off-camera flash, both for still subjects and maybe even some portraiture. The most important part of this fear-conquering journey was not spending tons of money doing it. So I began my research and ended up going back in time 50 years.
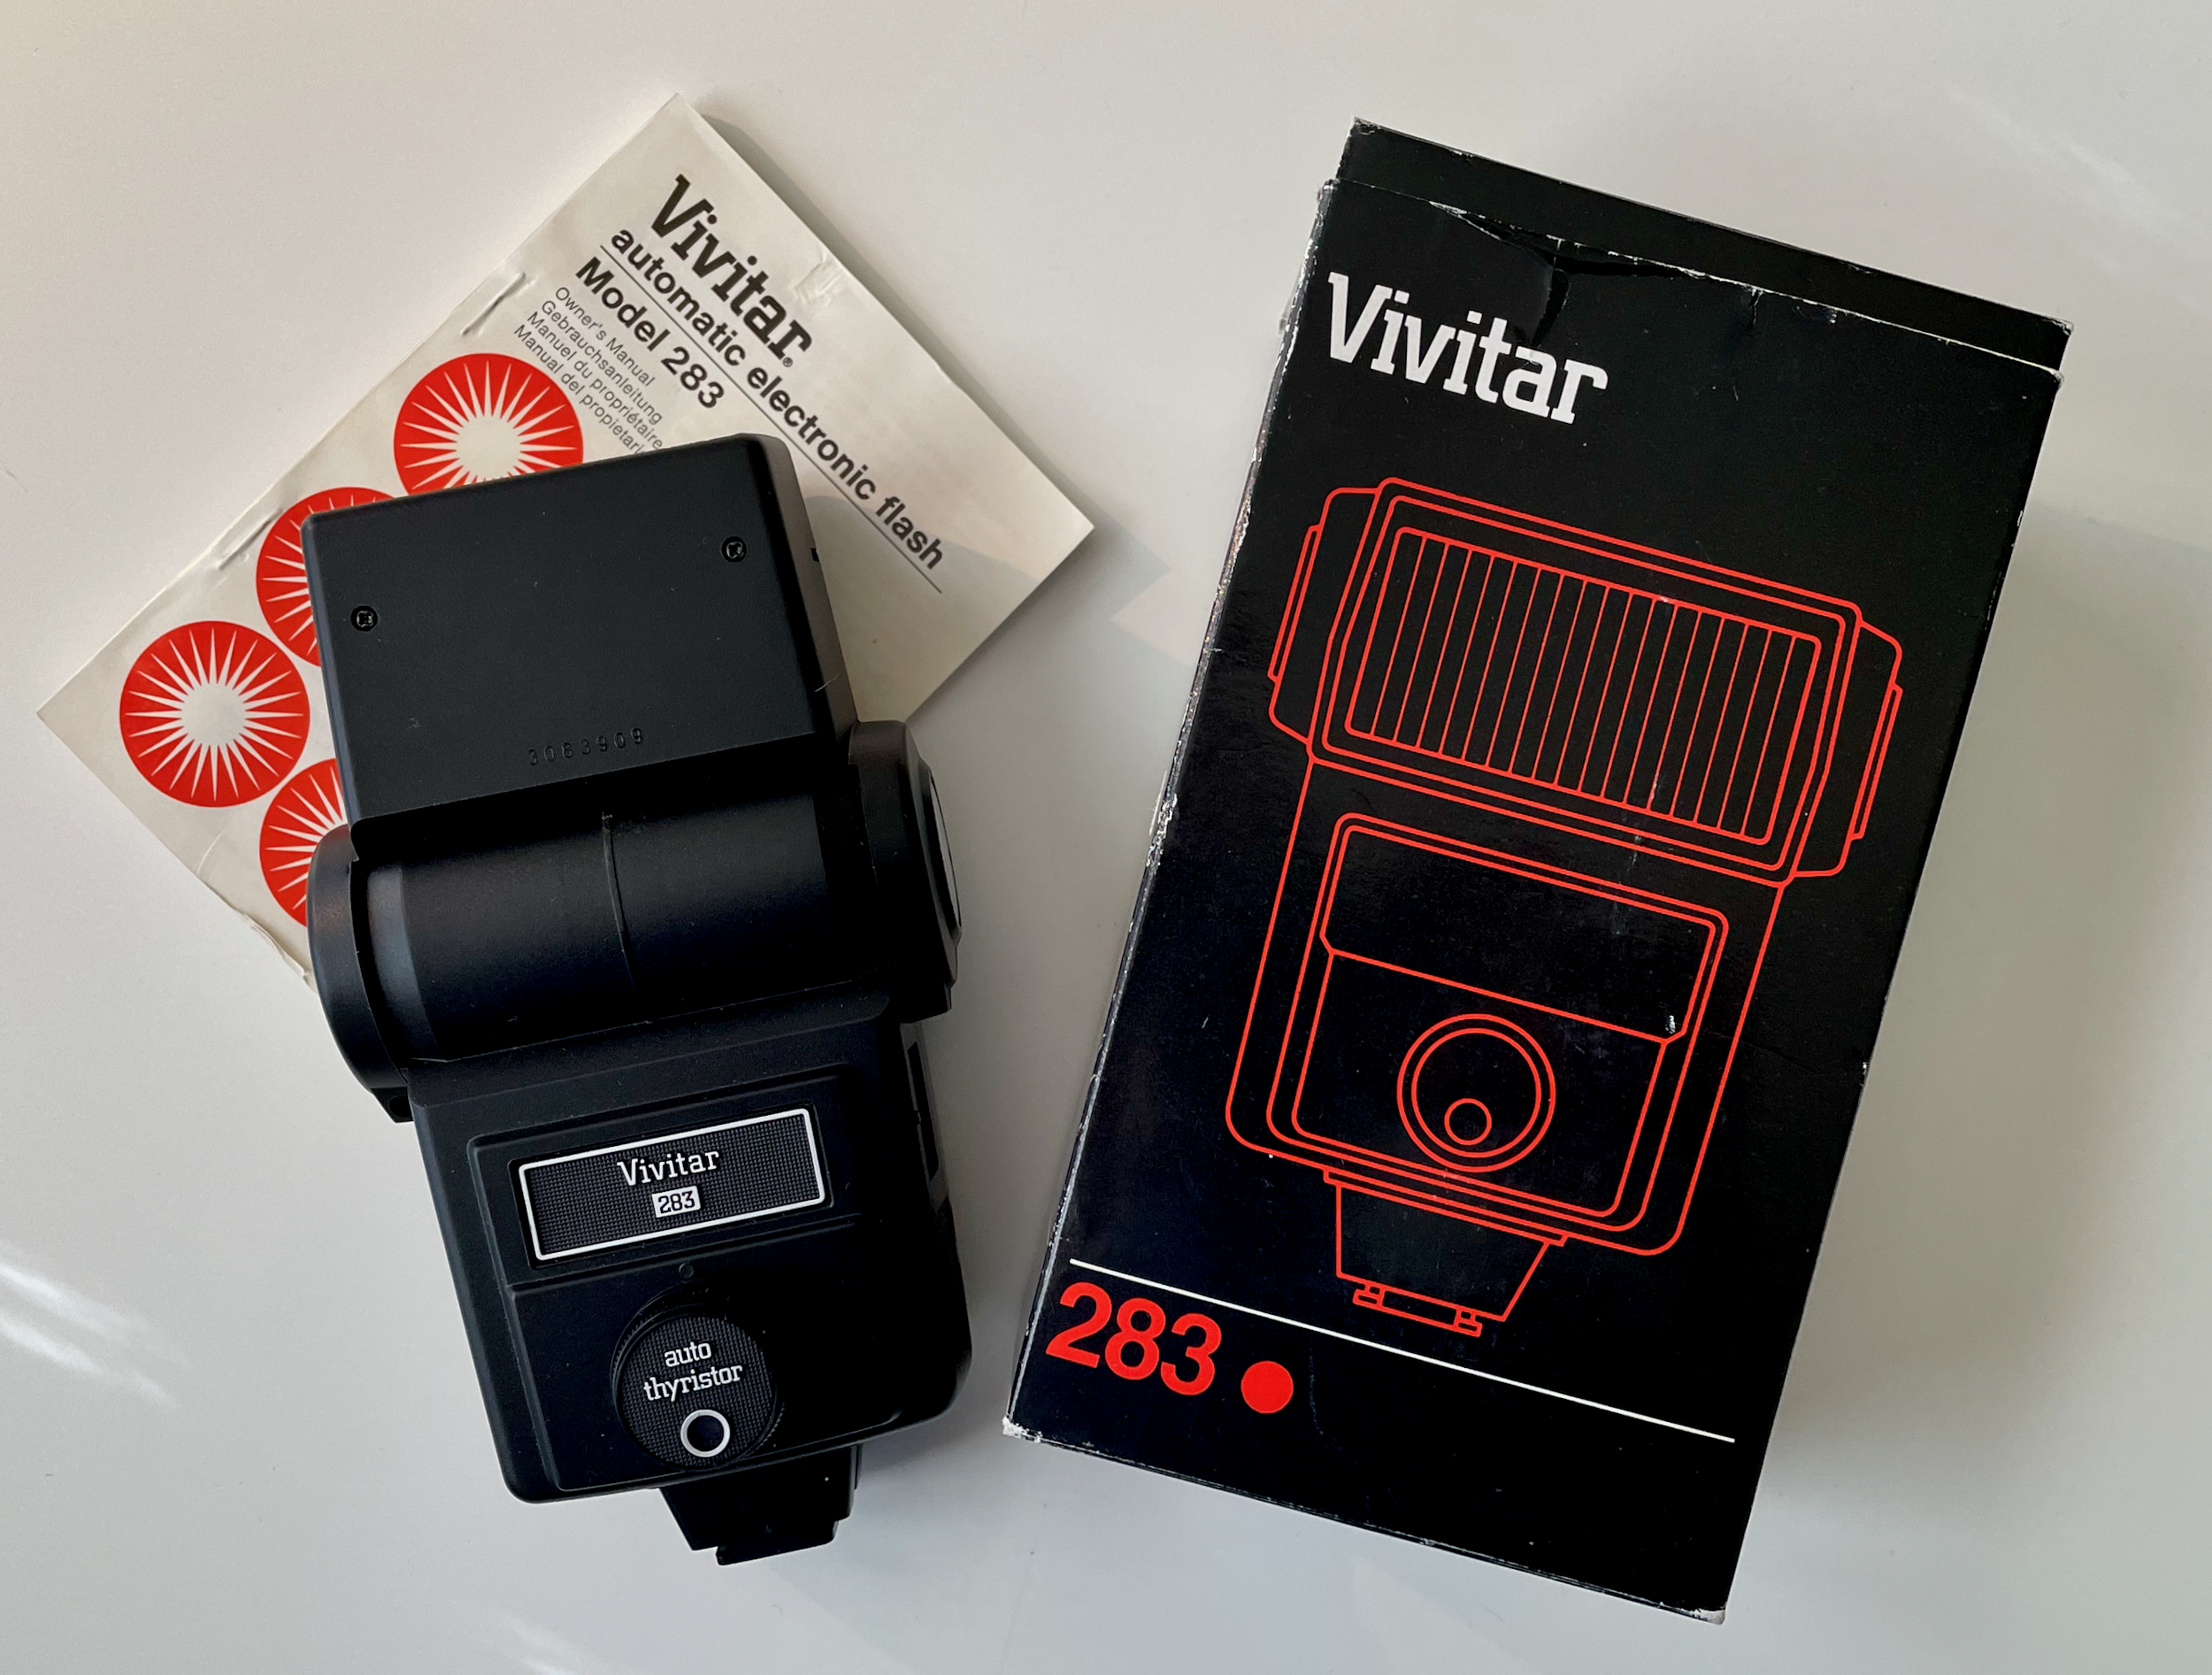
The Vivitar 283 electronic flash was introduced in 1970 and quickly became the most popular professional and advanced amateur flash of its day. Vivitar sold more than 3 million units by 1973 and the 283 remained in production, on and off, for nearly 30 years. The power and dependability of the 283 along with a wide range of accessories, made it the choice of wedding and studio photographers. Because of the vast numbers of 283s produced and their outstanding reliability, you can pick one one up today for around $10, which is what I did. Mine came in its original box with instructions and shows little signs of use. The day mine came, I quickly installed four AA batteries, turned it on and pushed the test button. It worked!
One of the things you will read if you begin to research older flashes is the danger of high trigger voltages. Today’s electronic flashes use very low voltage at the hot shoe to trigger the flash; usually under 10v. Some of these older flashes, some 283s included, create trigger voltage as high as 250v which could damage the electronics in newer film and digital cameras. My Fujiflim X-T1 allows for a trigger voltage as high as 300v according to the manual. Since I was going to use my 283 off camera or with one of my old mechanical film cameras, I was really not concerned about the higher trigger voltage, but out of curiosity, decided to see what my 283 tested at.

Checking the voltage per some instructions I found online, the trigger voltage on my 283 was just under 8v which is fine for any film or digital camera. Even if you find an older flash with high trigger voltage, you can use the flash with a remote trigger, which is what I intended to do. For my set up, I found this AODELAN wireless flash trigger and receiver on Amazon for $42.
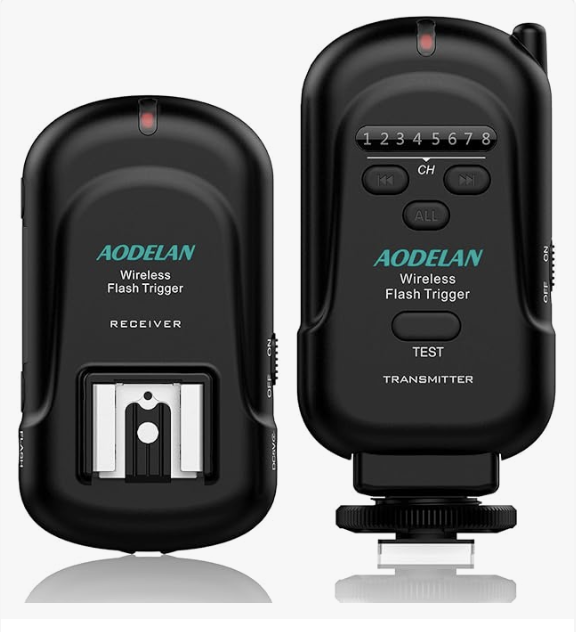
You simply mount the transmitter on your camera’s hot shoe and the flash mounts to the receiver. I mounted my receiver and flash to an old Bogen tri-pod. This inexpensive wireless set up triggers my 283 flash like a dream with the Fujifilm X-T1. I swapped out the digital camera for my Nikkormat EL and the set up worked just as well with the old film camera.
You can use the 283 in auto or manual mode. In auto mode, you twist the little calculator dial on the side of the flash to whatever film speed you are using, seen on the lower part of the dial.

Vivitar 283 flash calculator. This dial evens lights up with a cool green backlight.
You adjust the distance from flash to subject on the Auto Thyristor sensor on the front of the flash. If your subject is up to 15 feet away for example, select the blue color and then read your f/stop off the calculator. In this example f/8. If your camera is set at whatever shutter speed it synchs electronic flash with, you should get a good exposure.

The Auto Thyristor sensor

Side of the Auto Thuristor sensor set to BLUE
Like I mentioned above, Vivitar made all sorts of crazy accessories for the 283. One is the VP-1 Vari-Power module which replaces the Auto Thyristor sensor on the front of the flash. With the VP-1, you can manually dial in just the right amount of flash you want for your subject from full down to just a splash of fill. I found my VP-1 on eBay for $8.
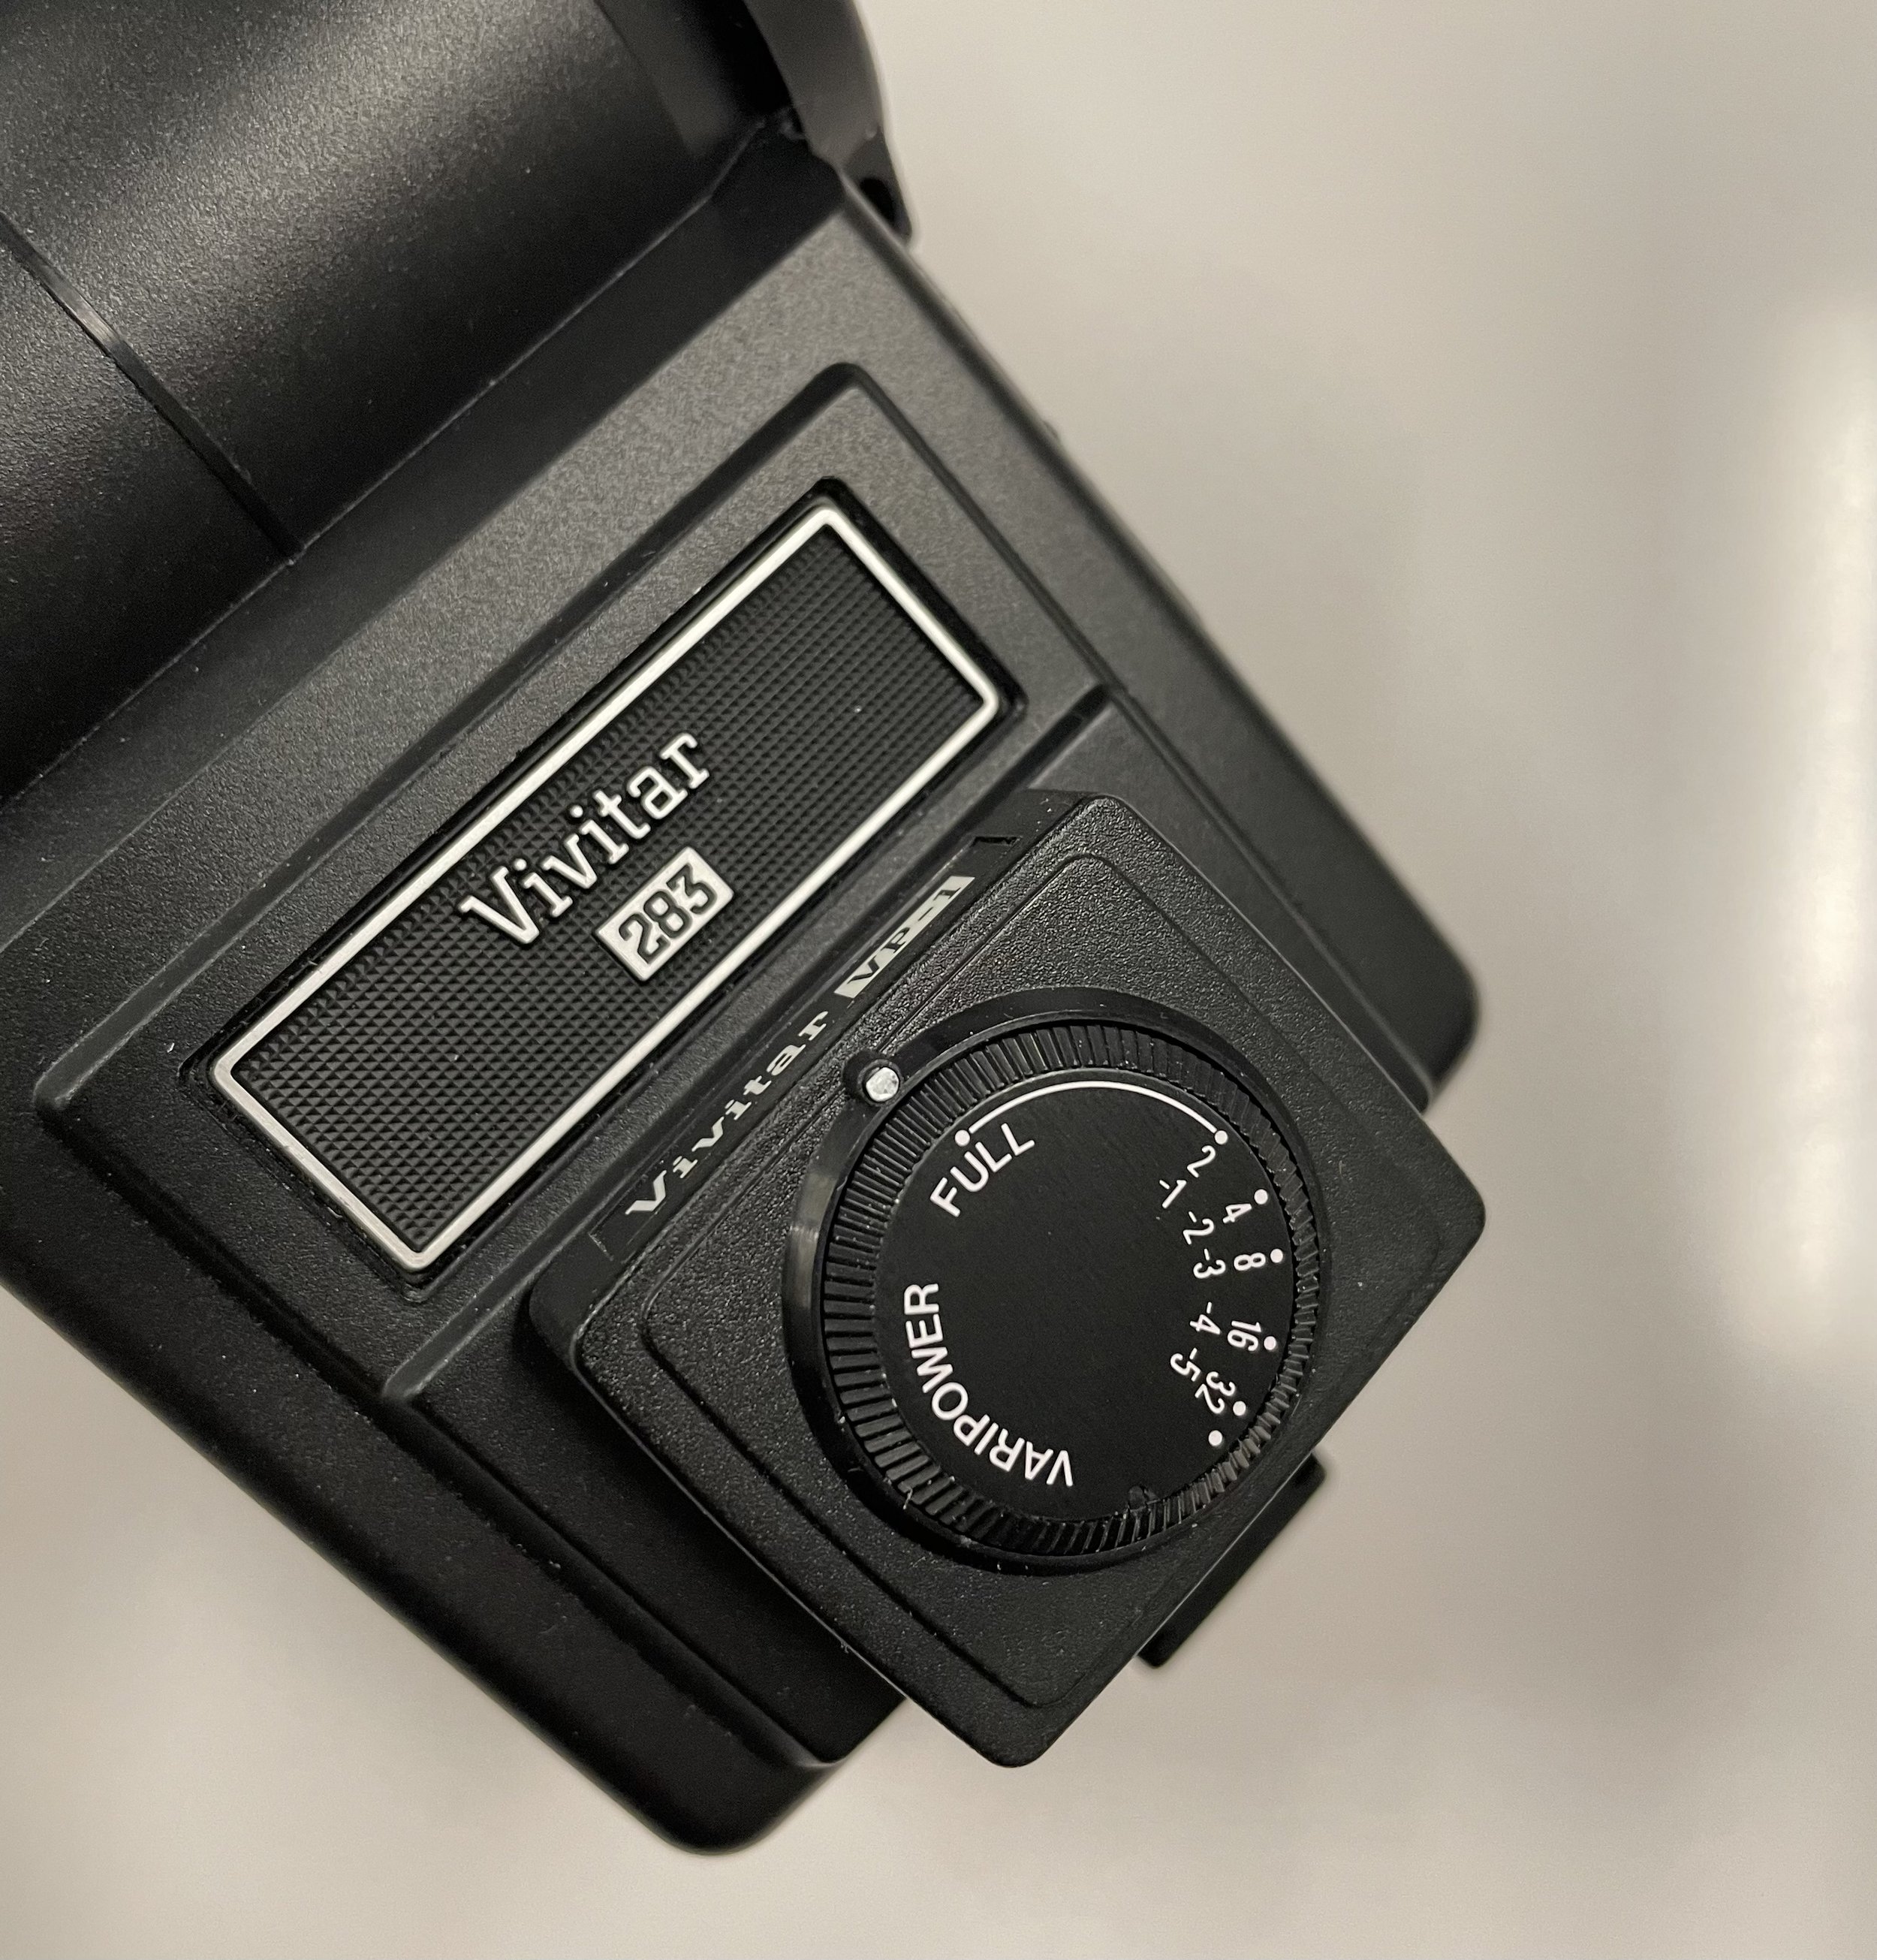
Vivitar VP-! Vari-Power module
A family member wanted some portraits taken for a work project. I knew I could get some decent available light shots outdoors with my X-T1, but I thought this might also be a good time to experiment with off-camera fill flash using the 283, VP-1 and my camera set on manual mode. I set the camera to 200 ISO and the shutter speed to the camera’s 180th of a second synch speed. It was a bight sunny day. I put the tripod-mounted flash off to one side of my subject. Full power was way too much but as I dialed the output power back to 1/16th of full, the results were outstanding. I shot a series of portraits which looked amazing. My subject has not given me permission to share those headshots at this point, but I intend to shoot some more I can share here with permission as well as enlisting Orvie, my Golden Retriever, who loves to pose for portraits.
The Vivitar 283 also gave me an opportunity to try out my Minolta IV-F Autometer, taking flash readings. I connected the Minolta meter to the flash using a PC synch chord, held the meter near my subject pointing back towards the camera. Pressing the button to take the reading fires the flash, giving me the proper exposure setting. I did feel kind of like a pro photographer with the Minolta Autometer dangling from my neck.

I am encouraged by the results from my first experiment with the Vivitar 283. For around $60 all in, I have a really nice flash set up which can help me overcome my negativity and fear of flash photography. I am sure there are newer flashes that do all of this and more and probably do it easier than this set up. But in the doing, I am learning. And that’s a very good thing. I will share some results here soon and in the meantime, hope to hear from any of my readers who know more about this subject than I do.
The Vivitar 283 is a very powerful, versatile, well-built, affordable flash unit that is helping to teach this old dog some new tricks.